

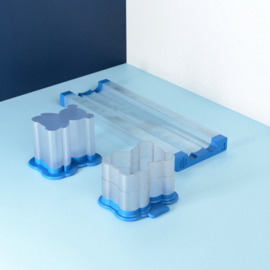




pre order
 My Little Cakepop® Cake Pop Boards | White Scalloped Cake Pop Discs | 50 pcs
📦 PRE-ORDER | Back in Stock Soon!Good news! My Little Cakepop® products are now available for pre-order. We expect the new stock to arrive around October 19, 2026.Please note: Orders containing one or more pre-order items will…
€ 8,50 Massager | The Secret Tool for Perfect Chocolate-Coated Cake Pops & Cakesicles
💗 Massager | The Secret Tool for Perfect Chocolate-Coated Cake Pops & CakesiclesWant beautifully smooth, professional-looking chocolate coatings on your cake pops and cakesicles? Then this Massager is the secret tool every cake…
€ 15,95 Roller with Height Rings | Perfect Thickness for Cake Pops, Cakesicles & More
🎂 Roller with Height Rings | Perfect Thickness for Cake Pops, Cakesicles & MoreCreate perfectly even cake pops and cakesicles every single time.
Do you use Daisy Makes® Popper Sets and want to roll your cake pop dough to an…€ 7,50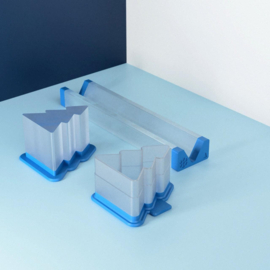 Daisy Makes® Christmas Tree Large | Christmas Tree Cake Pop Cutter-Embossing Popper & Tray | Blue
🎄 MAKE BEAUTIFUL CHRISTMAS TREE CAKE POPS QUICKLY & EASILY!Looking for an easy way to make perfectly shaped Christmas tree cake pops?
With the original Daisy Makes® Christmas Tree Large Cutter, Popper & Tray Set, you can…€ 35,00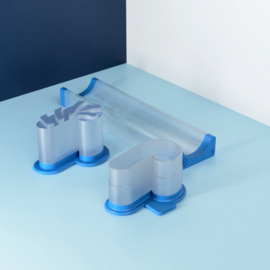 Daisy Makes® Candy Cane Large | Christmas Candy Cane Cake Pop Cutter-Embossing Popper & Tray | Blue
🍭 CREATE BEAUTIFUL CHRISTMAS CANDY CANE CAKE POPS!What's Christmas without the classic red and white candy cane?
With the Daisy Makes® Candy Cane Large Popper Set, you can transform this iconic American Christmas treat into…€ 35,00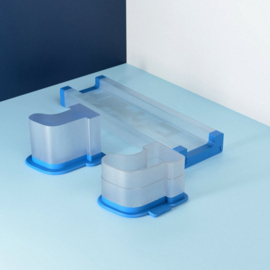 Daisy Makes® Christmas Stocking Large | Christmas Stocking Cake Pop Cutter-Popper & Tray | Blue
🎁 MAKE THE CUTEST CHRISTMAS STOCKING CAKE POPS!Looking for a fun and easy way to make original Christmas cake pops for the holiday season?
With the Daisy Makes® Christmas Stocking Large Popper Set, you can create beautifully…€ 35,00 Daisy Makes® Nail Polish Large | Nail Polish Cake Pop Cutter-Popper & Tray | Blue
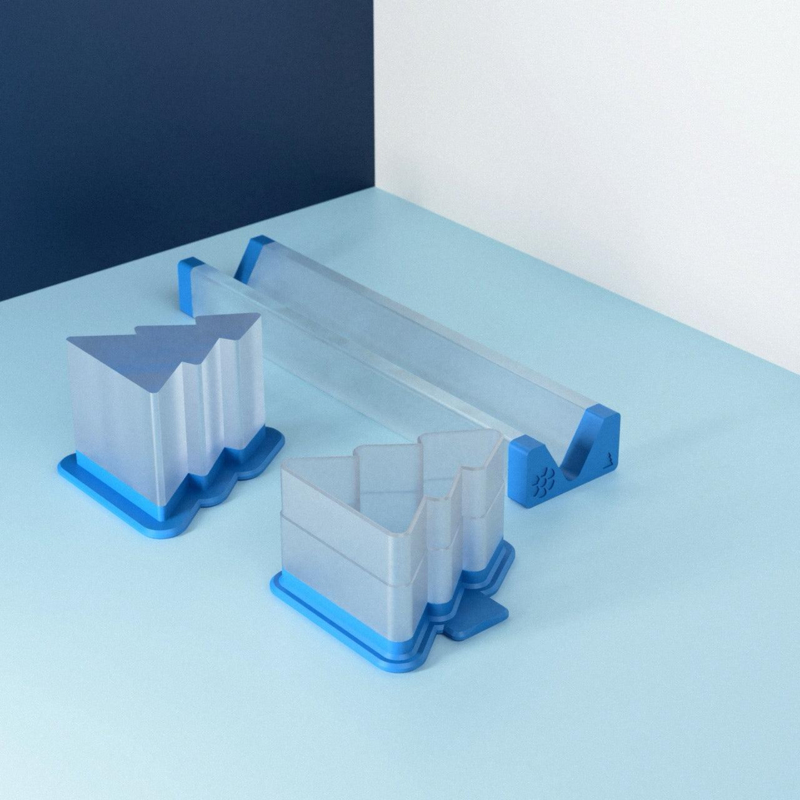
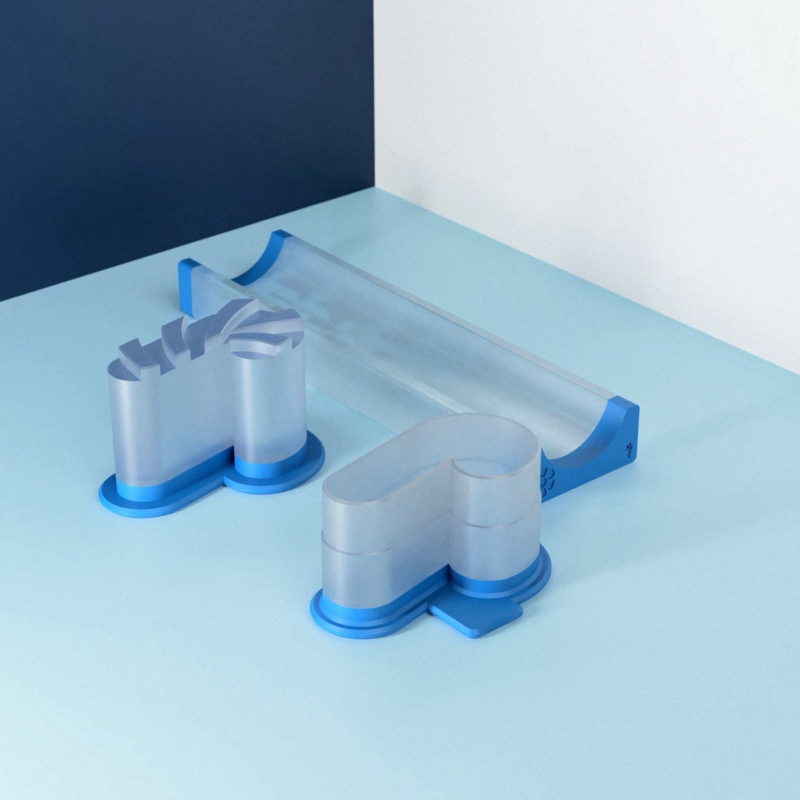
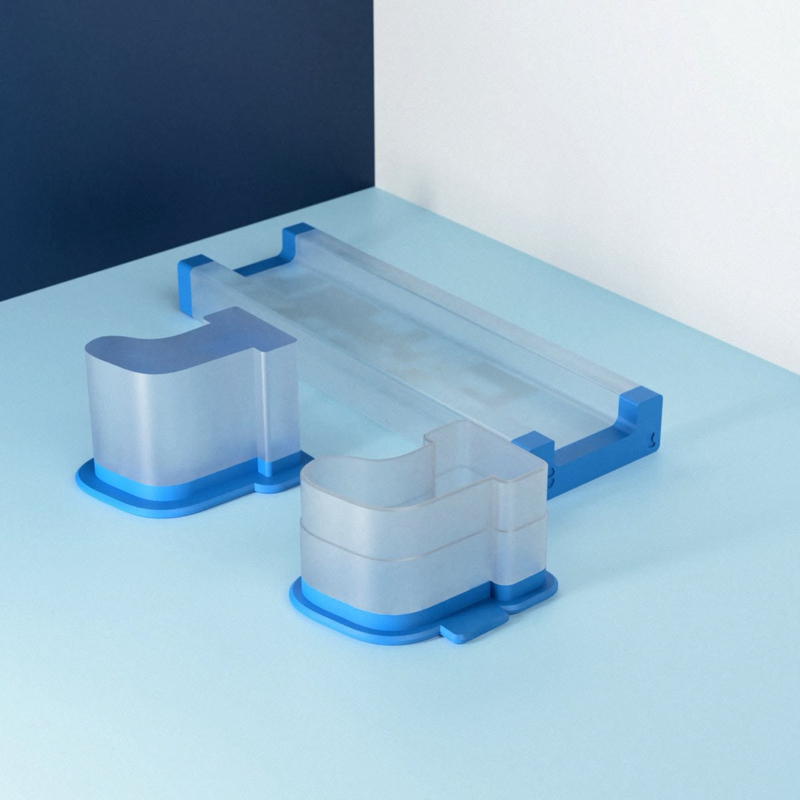
DAISY MAKES® NAIL POLISH LARGE | NAIL POLISH CAKE POP CUTTER-POPPER & TRAY | BLUEBeauty meets cake pops! 💅🎀 Create the cutest nail polish bottle cake pops with the Daisy Makes® Nail Polish Popper! Perfect for trendy…
€ 35,00


Cakepop tools & Dipping
How to Make Cake Pops: Cake Pop Dough, Shaping, Dipping & Decorating
Want to make cake pops that are smooth, sturdy and consistent in size? Great cake pops don't start with the decoration. They start with the basics: the right cake pop dough, consistent portions, a well-formed shape, a securely positioned stick and a smooth coating.
At Partysweets, we make, test and demonstrate cake pops ourselves. The techniques and tools you'll find here are the same ones we use for our own orders, demonstrations, events and cake pop workshops in Eindhoven, the Netherlands.
In this guide, we'll show you how we make cake pops step by step. You'll learn how to make cake pop dough, how to create consistently shaped cake pops, the difference between My Little Cakepop® Molds and Daisy Makes® Popper Sets, how to make cakesicles and how to dip and decorate your cake pops for a professional finish.
What do you need to make cake pops?
The basic starting point is cake, which is turned into a soft, workable cake pop dough. You then portion and shape the dough, add a lollipop stick and dip the cake pop in chocolate or Deco Melts.
Depending on the type of cake pops you want to make, you can use:
- cake mix and ingredients for cake pop dough;
- My Little Cakepop® Molds for 3D cake pops;
- Daisy Makes® Cutter-Popper Sets;
- Daisy Makes® Cakesicle Popper Sets in Medium and Large;
- a Roller with Thickness Rings;
- lollipop sticks;
- Deco Melts or another suitable coating;
- a chocolate melter;
- Cake Pop Resting Trays and Cake Pop Stands;
- dipping and drizzle tools;
- fondant, stamps, silicone decorating molds and other cake pop decorations.
You certainly don't need every tool to make your first cake pop. The right tools become particularly useful when you want to work faster, more precisely and more consistently.
How to make cake pop dough with our Steam Method
There are several ways to make cake pop dough. At Partysweets, we prefer our Steam Method.
We process the cake immediately after baking, while it is still warm. The warm cake is mixed with a dough hook until it becomes smooth, soft and workable cake pop dough.
We don't add butter, cream cheese or buttercream. Our aim is a smooth, firm and easy-to-shape cake pop dough.
Please note: the cake is very hot immediately after baking, so don't process it with your hands.
What should cake pop dough feel like?
Good cake pop dough should be soft and easy to knead, while still being firm enough to hold its shape.
This is important because even the prettiest decoration can't compensate for cake pop dough that is too soft, too dry or poorly shaped.
For a professional result, we therefore look at more than just the recipe. The texture of the dough, weight of each cake pop, shaping technique, coating temperature and a consistent workflow all make a difference.
These small details are what ultimately help you create consistent cake pops.
What cake can you use for cake pops?
We use cakes made with brands including FunCakes and American Betty Crocker Cake Mixes.
In our Cake Pop Guide, for example, we use FunCakes Red Velvet and Carrot Cake. For the Carrot Cake, we replace the oil with ricotta and leave out the carrot when we want an especially smooth cake pop dough.
Betty Crocker has also become one of Esther's favourites for making cake pops. For our cake pop method, we adapt the standard preparation and replace the oil with sour cream.
Whichever cake you choose, the goal is ultimately the same: a smooth, firm and easily workable cake pop dough.
How do you make cake pops the same size?
This is one of the biggest differences between simply making cake pops and making consistent cake pops.
If you're making one cake pop, a difference of a few grams is hardly noticeable. If you're making a complete set for an order, wedding, sweet table, workshop or event, variations in size become much more obvious.
At Partysweets, we therefore use different systems to recreate the same shapes consistently.
Two of the most important are My Little Cakepop® Molds and Daisy Makes® Popper Sets.
They both help you make consistent cake pops, but the techniques are completely different.
My Little Cakepop® Molds: make identical 3D cake pops
With My Little Cakepop® Molds, you can create true three-dimensional cake pops.
Roll your cake pop dough into a ball and place it inside your chosen mold. Then firmly close the mold.
The pressure pushes the cake pop dough into the complete 3D shape. Any excess dough is pushed out and can be removed. If necessary, the seam can then be smoothed by rolling a lollipop stick over it.
Instead of sculpting every cake pop completely by hand, you can recreate the same 3D shape again and again.
Think round cake pops, mini cakes, doughnuts, bears, ice creams and all kinds of seasonal and themed designs.
How much cake pop dough do you need for a My Little Cakepop® Mold?
This depends on the specific mold.
For classic round cake pops, for example, we use the My Little Cakepop® Round Ball Mold 1.1 oz / 31 g.
By weighing approximately the same amount of cake pop dough for every cake pop and using the same mold, you can create cake pops that are consistent in both size and shape.
Always check the recommended dough weight for the specific mold you're using.
Why use a Resting Tray for round cake pops?
A perfectly round cake pop can develop a flat side if you simply place it on your work surface after shaping.
That's why we like using the My Little Cakepop® Resting Tray for round cake pops.
The shaped cake balls can rest in the tray while you continue working without developing a flat bottom. They also stay stable when you're ready to insert the lollipop sticks.
This is particularly useful when making larger batches.
Daisy Makes® Popper Sets: cut identical cake pop shapes
The Daisy Makes® Original Popper® System uses a completely different technique.
Instead of pressing cake pop dough into a 3D mold, you first roll the dough into an even sheet.
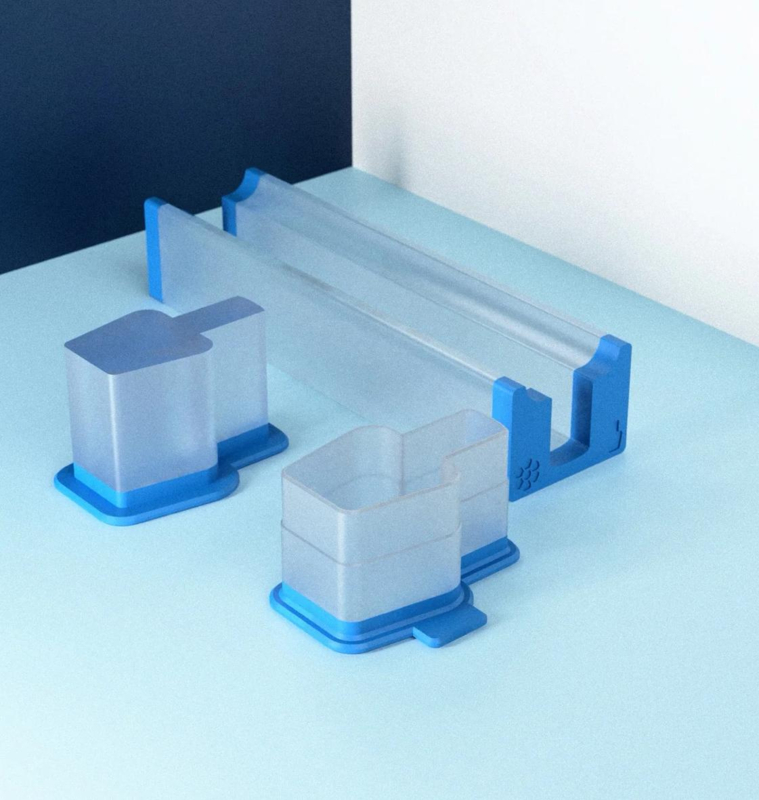
You then use the Daisy Makes® Cutter, Popper and Tray to create the same cake pop shape repeatedly.
How does a Daisy Makes® Cutter-Popper-Tray work?
1. Roll your cake pop dough
Roll the cake pop dough to your chosen even thickness.
2. Cut the shape
Use the Cutter to cut your chosen cake pop shape from the dough.
3. Use the Popper
The Popper helps release the cake pop neatly from the Cutter. With an Embossing Popper Set, you can also press details or texture directly into the cake pop dough.
4. Place it in the Tray
Place the shaped cake pop in the matching Tray. This keeps the shape stable and allows the stick to be positioned neatly and consistently.
This makes it easy to create multiple identically shaped cut-out cake pops.
Roller with Thickness Rings: a game changer for Daisy Makes®
With Daisy Makes®, the Cutter isn't the only thing that determines the final result. The thickness of your rolled cake pop dough also needs to be consistent.
That's where a Roller with Thickness Rings makes a huge difference.
Place the same thickness ring on each end of the roller. As you roll, the rings eventually touch the work surface and prevent the roller from moving any lower.
This makes it quick and easy to roll the entire sheet of cake pop dough to an even, predetermined thickness.
The result is more consistent dough thickness, easier batch cutting and much greater control over the size and weight of your cake pops.
For us, the Roller with Thickness Rings is genuinely a game changer when working with Daisy Makes® Popper Sets.
Which thickness ring should you use?
That depends on the cake pop you're making.
A thicker sheet naturally contains more cake pop dough than a thinner one. That's why, wherever possible, our Daisy Makes® Large Popper Set product pages show the approximate amount of cake pop dough required at different thicknesses.
For the Cakesicle Popper and Photo Frame Popper, we recommend using at least the 7/8" thickness ring. This gives the cake pop enough thickness and strength for dipping.
Important: the dough weight isn't the same for every Popper. Each shape has a different surface area, so always check the portion guide for the specific Daisy Makes® Popper Set you're using.
What's the difference between My Little Cakepop® and Daisy Makes®?
Both systems help you create consistent cake pops, but they use very different techniques.
| My Little Cakepop® | Daisy Makes® | |
|---|---|---|
| Method | Shape dough inside a mold | Roll and cut cake pop dough |
| Result | Fully 3D | Cut shape with a consistent thickness |
| Consistency | Dough weight + pressure | Thickness rings + Cutter/Popper |
| Main tool | 3D Mold | Cutter + Popper + Tray |
| Portioning | Weigh the dough | Thickness + shape determine dough quantity |
| Ideal for | 3D and character cake pops | Quickly creating multiple identical cut-out shapes |
If you want to create a fully three-dimensional cake pop, My Little Cakepop® is a great method.
If you want to roll out cake pop dough and quickly cut multiple identical shapes, Daisy Makes® is particularly convenient.
At Partysweets, we use both techniques. The right choice mainly depends on the cake pop design you want to create.
How to Make Cakesicles with Cake Pop Dough
Cake pop dough can also be used to make cakesicles.
A cakesicle is a long, ice cream-shaped treat on a stick. Larger versions are also commonly searched for as Magnum-style cakesicles or Magnum cake pops.
Because cakesicles have a larger surface than many traditional cake pops, they give you plenty of space for decorating with Deco Melts, drizzles, sprinkles, fondant, chocolate decorations, edible images and Edible Journaling™.
But there is more than one way to make a cakesicle.
Silicone cakesicle mold or Daisy Makes® Cakesicle Popper?
Cakesicles are traditionally often made using a silicone cakesicle mold. With this method, each cakesicle is built individually inside the mold and you need to work around the stick.
That method works, but when you're making several cakesicles at once, we find it more time-consuming.
At Partysweets, we therefore prefer the Daisy Makes® Cakesicle Popper Sets, available in Medium and Large.
Instead of building each cakesicle inside a silicone mold, you work directly with cake pop dough.
Use a Roller with Thickness Rings to quickly roll a larger amount of cake pop dough to an even thickness. Then use the Cutter to cut out identical cakesicle shapes.
This makes it possible to produce several cakesicles with the same shape and thickness in quick succession.
Why we love the Daisy Makes® Cakesicle Popper
For us, one of its biggest advantages is the matching Alignment Tray.
Place the shaped cakesicles in the tray one after another. Then push a lollipop stick through the designated opening into each cakesicle until it cannot go any further.
You don't need to dip the sticks in chocolate or Deco Melts first.
Because the Alignment Tray determines the position and depth, every stick is inserted to the same depth and sits securely inside the cake pop dough.
This makes a particularly noticeable difference when dipping. Cakesicles are relatively large and heavy, so you want the stick to be well secured before lowering the entire cakesicle into the coating.
With the Daisy Makes® Alignment Tray, there's much less chance of the cakesicle coming loose from its stick while dipping. You also don't need to guess how far to push the stick into each individual cakesicle.
It's faster, easier and more consistent, and helps you achieve a neater finished result.
A faster way to make multiple cakesicles
The combination of Roller + Cutter + Popper + Alignment Tray is what makes this workflow so efficient.
First, roll a larger sheet of cake pop dough to an even thickness using the Roller with Thickness Rings.
Next, cut multiple cakesicle shapes using the Cutter and use the Popper to release each shape neatly.
Place the cakesicles one after another in the Alignment Tray and push the sticks in until they reach their fixed stopping point.
Every stick is now inserted to the same depth and securely positioned in the dough.
Then you're ready for the fun part: dipping and decorating.
For anyone who regularly makes cakesicles or works in larger batches, we find this method considerably faster, easier and more consistent than using a traditional silicone cakesicle mold.
Daisy Makes® Cakesicle Medium or Large?
At Partysweets, you'll find the Daisy Makes® Cakesicle Popper Set in Medium and Large.
This lets you choose the size that best suits your design, portion size and decoration.
For cakesicles, we recommend using at least the 7/8" thickness ring to give the cakesicle enough thickness and strength for dipping.
The Large version gives you that generous, recognisable Magnum-style cakesicle shape, while Medium creates a smaller cakesicle.
Can you add fillings to cakesicle dough?
Yes, and this is one of the fun parts of experimenting with cakesicles.
You can add different flavours and textures to your cake pop dough, such as Speculoos crumble, pieces of M&M's or Oreo cookies.
On Partysweets' social channels, Esther regularly tests different cake pop and cakesicle flavour combinations.
This means you can vary not only the decoration on the outside, but also the flavour and texture inside.
Dipping Cake Pops
How do you keep a cake pop securely on the stick?
The correct technique depends on the system you're using.
With our My Little Cakepop® method, we dip the end of the lollipop stick into melted Deco Melts and insert it approximately halfway into the shaped cake pop. With a Disc Mold, the stick can be inserted slightly deeper.
The cake pop then goes upright into a Cake Pop Stand to set.
We developed the Partysweets Cake Pop Stand around this workflow. While the stick in the first cake pop is setting, you can continue making the next one.
The Daisy Makes® Cakesicle Popper works differently. You don't need to dip the stick first. The cakesicles are placed in the Alignment Tray and the sticks are pushed directly into the dough until they reach their fixed position.
So there isn't one single stick-insertion method that applies to every cake pop shape and system.
Should you refrigerate cake pops before dipping?
We don't with our method.
We don't refrigerate our shaped cake pops before dipping. A large temperature difference between a very cold cake pop and warm coating can contribute to cracking.
For that reason, not chilling before dipping is an important part of our own cake pop workflow.
Why does the coating on my cake pops crack?
A large temperature difference between the cake pop and coating can be one cause.
When a very cold cake pop is dipped into warm coating, the cake pop and setting coating can react differently as their temperatures change.
That's why we prefer not to refrigerate our cake pops before dipping and pay close attention to coating temperature.
What can you use to dip cake pops?
We like using FunCakes or Wilton Deco Melts. They have a useful consistency for both dipping and drizzling.
Want to colour white Deco Melts? Use a suitable oil-based food colouring, such as Colour Mill, to colour the coating without unnecessarily affecting its consistency.
How do you get a smooth coating on cake pops?
After dipping, allow the excess coating to drain from the cake pop.
If a thick edge or drop remains underneath, we like using a Cake Pop Massager.
Gently hold the Massager against the stick. The light vibration helps excess coating flow down more evenly.
This can give you a smoother coating, fewer thick edges and a neater finish.
Decorating Cake Pops
Once the dipping is done, the creative part begins.
Cake pops can be decorated with sprinkles, drizzles, fondant, chocolate decorations, mini silicone molds, Cakepop Message Stamps, Partystamp® fondant stamps, edible images and Edible Journaling™.
One useful tip from our own workflow is to use the same Colour Mill colouring for white Deco Melts and fondant when you want the colours of your coating and decorations to coordinate.
How do you make large batches of cake pops faster?
Work in batches.
Don't completely finish one cake pop before starting the next.
Shape several cake pops first and then insert the sticks. While one is setting, continue with the next. You can then dip them one after another.
This is the workflow we use ourselves for workshops, demonstrations, events and production.
With Daisy Makes®, you can take the same batch approach even further: roll the dough, cut multiple shapes, use the Popper, place them in the Trays and then continue to the next production step.
Frequently Asked Questions About Making Cake Pops & Cakesicles
Can you make cake pops without buttercream?
Yes. With our Steam Method, we don't add buttercream, cream cheese or butter to the baked cake.
Instead, we process the cake while it's still warm to create a smooth, workable cake pop dough.
How many grams should a cake pop weigh?
There is no universal cake pop weight. The correct amount depends on the shape and method you're using.
The My Little Cakepop® Round Ball Mold 1.1 oz, for example, is designed for approximately 31 g of cake pop dough.
With Daisy Makes®, the amount depends on both the specific Cutter-Popper shape and the thickness of your rolled dough. That's why, wherever possible, our Daisy Makes® product pages include a portion guide for different thickness rings.
How do I make all my cake pops the same size?
Don't rely on sight alone.
With a My Little Cakepop® Mold, use approximately the same weight of cake pop dough every time.
With Daisy Makes®, use a Roller with Thickness Rings so the entire sheet of dough is rolled to an even thickness before cutting your shapes.
Which is better: My Little Cakepop® or Daisy Makes®?
They serve different purposes.
With My Little Cakepop®, cake pop dough is compressed inside a mold to create a fully 3D cake pop.
With Daisy Makes®, the dough is rolled evenly before identical cake pop shapes are cut using a Cutter-Popper.
The right system therefore depends primarily on the type of cake pop you want to create.
Why do my cake pops fall off the stick?
The texture of your cake pop dough, the size of your cake pop and the way the stick is inserted can all play a part.
With our My Little Cakepop® method, we first dip the stick in melted Deco Melts, insert it into the cake pop and allow it to set upright.
With the Daisy Makes® Cakesicle Popper, the process is different: the Alignment Tray is used to position the stick at a fixed depth without first dipping it.
How do you stop a cakesicle falling off the stick?
Start with firm, workable cake pop dough and make sure your cakesicle has enough thickness.
For the Daisy Makes® Cakesicle Popper, we recommend at least the 7/8" thickness ring.
Place the cakesicles in the Alignment Tray and push each stick all the way to its fixed stopping point. This positions the sticks deeply and consistently inside the dough and greatly reduces the chance of a cakesicle coming off its stick during dipping.
Do you need to dip cakesicle sticks in chocolate first?
Not when we use the Daisy Makes® Cakesicle Popper with Alignment Tray.
The cakesicle is placed in the tray and the stick is pushed directly into the cake pop dough until it reaches its fixed position.
This makes it possible to insert sticks into multiple cakesicles quickly, securely and at the same depth.
Is a Daisy Makes® Cakesicle Popper faster than a silicone cakesicle mold?
For our workflow, yes.
With a silicone cakesicle mold, you build each cakesicle individually inside the mold.
With Daisy Makes®, you can roll a larger sheet of cake pop dough, cut multiple cakesicle shapes and then use the Alignment Tray to insert the sticks one after another.
This is particularly efficient when you're making cakesicles in batches.
What is a cakesicle?
A cakesicle is a cake-based treat on a stick with the recognisable elongated shape of an ice cream bar.
The inside can be made from the same type of cake pop dough used for cake pops. Larger versions are also commonly referred to as Magnum-style cakesicles or Magnum cake pops.
Can you use cake pop dough for Magnum-style cakesicles?
Yes. The Daisy Makes® Cakesicle Popper Sets are specifically used with cake pop dough in our method.
Roll the dough evenly, cut the cakesicle shape and continue shaping it using the Cutter, Popper and Alignment Tray.
Why do my cake pops crack after dipping?
A large temperature difference between your cake pop and coating can contribute to cracking.
That's why we don't refrigerate our cake pops before dipping.
How do you prevent a thick drop of coating underneath a cake pop?
Allow the excess coating to drain thoroughly.
For an extra neat finish, you can gently hold a Cake Pop Massager against the stick. The light vibration helps excess coating flow away more evenly.
Can I use regular food colouring in Deco Melts?
We recommend a suitable oil-based food colouring, such as Colour Mill, for colouring white Deco Melts.
This allows you to add colour without unnecessarily affecting the consistency of the coating.
What cake pop tools does a beginner really need?
Start with the basics: good cake pop dough, a reliable way to shape your cake pops consistently, lollipop sticks, a suitable coating and a way to keep the cake pops stable while you're working.
You can then expand your setup with tools such as a My Little Cakepop® Mold, Daisy Makes® Popper Set, Roller with Thickness Rings, Resting Tray, Cake Pop Stand, chocolate melter and dipping or decorating tools.
Learn How to Make Cake Pops in Eindhoven
Want to do more than just read about the techniques?
During our Cake Pop Workshops at Partysweets in Eindhoven, the Netherlands, you'll learn step by step how to work with cake pop dough and professional cake pop tools.
You'll learn how to recognise and work with the right dough consistency, portion and shape your cake pops, insert sticks, dip and decorate.
You'll also have the opportunity to work with techniques and tools we use for our own cake pops.
Our workshops are deliberately hands-on: the best way to learn how to make cake pops is to make them yourself.
Everything You Need to Make Cake Pops & Cakesicles
At Partysweets, you'll find the tools you need to make cake pops and cakesicles, whether you're baking at home or making them professionally.
From My Little Cakepop® 3D Molds and Daisy Makes® Cutter-Popper Sets to Daisy Makes® Cakesicle Popper Sets in Medium and Large, Rollers with Thickness Rings, Resting Trays, Cake Pop Stands, Deco Melts, dipping tools and decorating supplies.
The techniques we share come from our own hands-on experience: making and testing cake pops, demonstrating techniques, discovering what doesn't work and continually refining our workflow.
Whether you're making your first cake pop, creating identical 3D cake pops, cutting shapes with Daisy Makes® or looking for a faster and easier way to make cakesicles, the combination of good cake pop dough, the right technique and the right tools makes consistent results much easier to achieve.
Making cake pops isn't just about following a recipe. It's a technique you can continue to refine.